There is a lot of enthusiasm and excitement about the new QGIS 3.0 release. The project is under way and the GIS community is waiting for its release. The upgrade from version 2 to version 3 is anticipated to bring countless new features and capabilities. It is expected to improve the current QGIS functionality and performance.
- Improvements that are planned to be introduced include:
- Improved editing workflows
- Many algorithms have been re-written in order to run much faster and be more stable (new algorithms for clipping, geometry and feature boundary box)
- Switch to QT5/PyQT5 and Python 3
- New symbols, dynamic symbols and predefined symbol groups
- Improve relations with PostgreSQL
- New 3D map viewer
Until the full release of QGIS 3.0, you can test and try some of these new and improved capabilities using a development release candidate dubbed 2.99. The release candidate version is available at qgis.org and you can have it running on Windows, Mac, or Linux.
Further we will try to download and install this new development release QGIS 2.99 and explore its new 3D capabilities using the new 3D map viewer provided. This can be downloaded and installed through OSGeo4W (https://trac.osgeo.org/osgeo4w/), a set of open source geospatial software or through a direct download of an executable file (https://qgis.org/downloads/weekly/?C=M;O=D).
In this example we will show you how to download and install the new development release 2.99 using OSGeo4W.
You can get OSGeo4W, from here (https://trac.osgeo.org/osgeo4w/) – it includes a lot of different open source software but most importantly the latest QGIS releases.
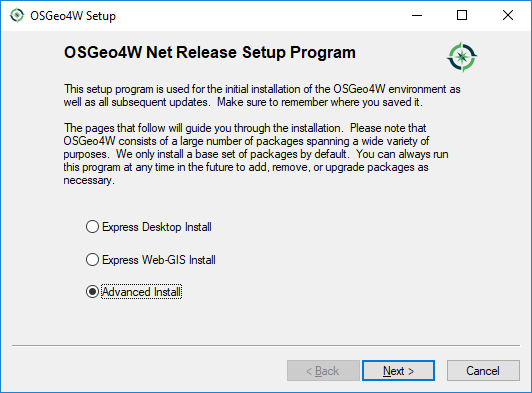
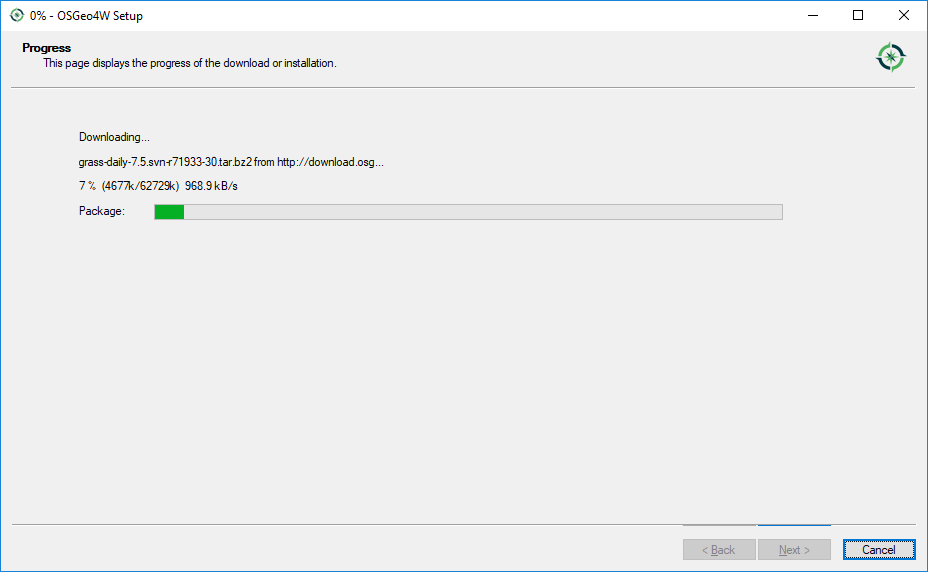
Once the executable file (osgeo4w-setup) is downloaded, click it and follow the following instructions.
Step 1. Select Advanced Install option
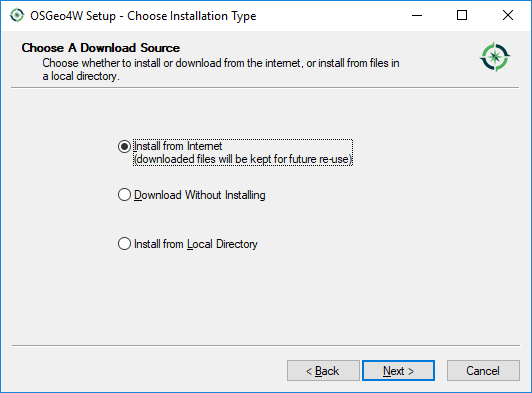
Step 2. Select Install from Internet option
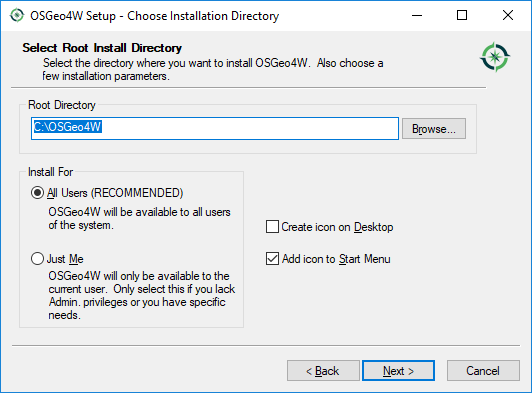
Step 3. Select Install Directory
Step 4. Select Local Package Directory

Step 5. Select Your Internet Connection – Direct Connection

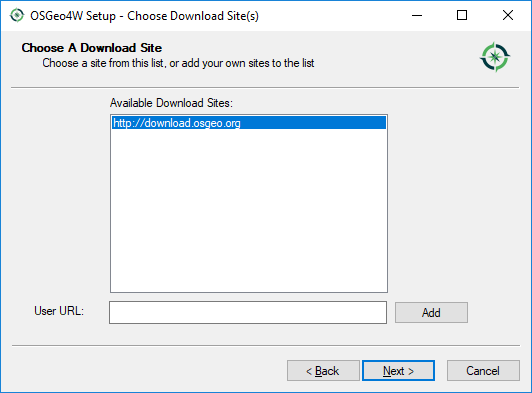
Step 6. Choose A Download Site
Step 7. Select Packages – Choose QGIS Desktop and the nightly development build (2.99.xx)

Step 8. Wait until the new development QGIS 2.99 is installed on your computer.
Step 9. You should now have QGIS 3!

Step 10. Open QGIS Desktop 2.99 development release version and start exploring the new 3D capabilities
- Open your data (vector and raster data)
- For this example, the raster data loaded will be a digital elevation model derived from Lidar technology over Madrid area (provided by Centro de Descargas del CNIG (IGN) (http://centrodedescargas.cnig.es/CentroDescargas/index.jsp).
- The vector data will consist of OSM data provided by Geofabrik (http://download.geofabrik.de/).
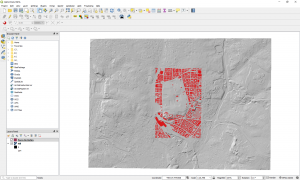
- After the data is loaded click View > New 3D Map View. A new 3D Map window will open.
- Click Configure for setting up the 3D features of the scene.
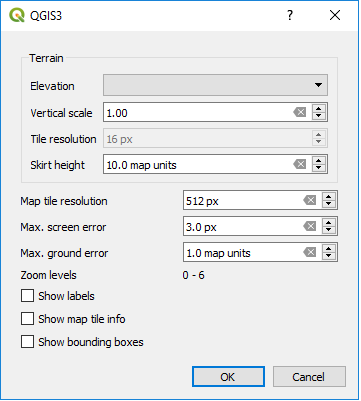
- Set in the elevation tab the DEM raster you loaded. Set the vertical scale also.
- You should get a result like in the image below.
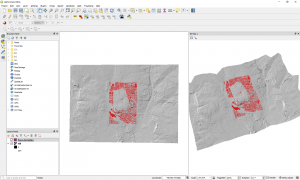
- Now you have the DEM displayed in 3D.
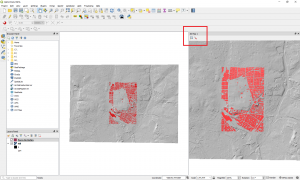
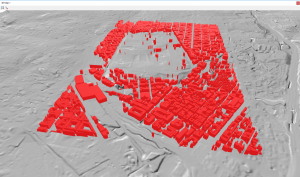
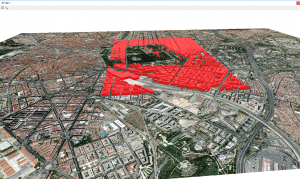
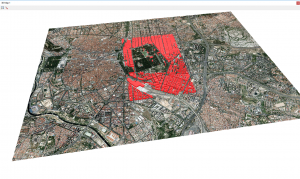
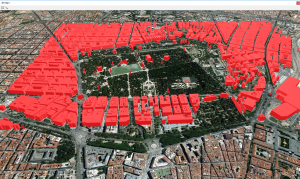
- The next step will consist in the 3D display of the buildings.
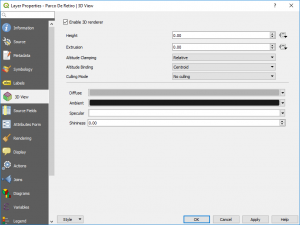
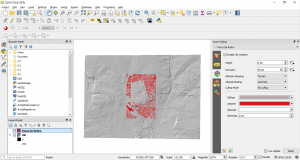
- Open the Layer Styling
- Select 3D View – Enable 3D renderer, set the Altitude Clamping to Terrain and the Extrusion value as you wish.
- The 3D viewer should display the data as in the pictures below.
Quality training taught by professionals
RECOMMENDED COURSE


Leave A Comment