When working with big raster files, it is important to know what kind of tools may ease your work.
Maybe you want to divide raster files into equal parts, or maybe you want to split them based on a given polygon shapefile layer.
Using the Raster Divider and Easy Raster Splitter plugins in QGIS 3.x you can realize this in a easy way. Lets see how you can do it.
1. Raster Divider
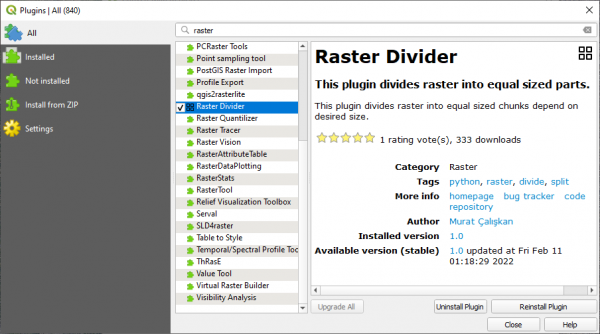
First of all the Raster Divider plugin must be installed. For this, go to Plugins > Manage and Install Plugins. Install Raster Divider.
The Raster Divider plugin icon will appear in the QGIS toolbar. Click on it.
In the new window that will open select
- the raster you want to divide,
- the size of the equally divided parts (considering the original raster size) and the
- output folder where the equally divided parts will be exported.
Optionally you can choose to add the results in the map by checking the Add result to map checkbox.
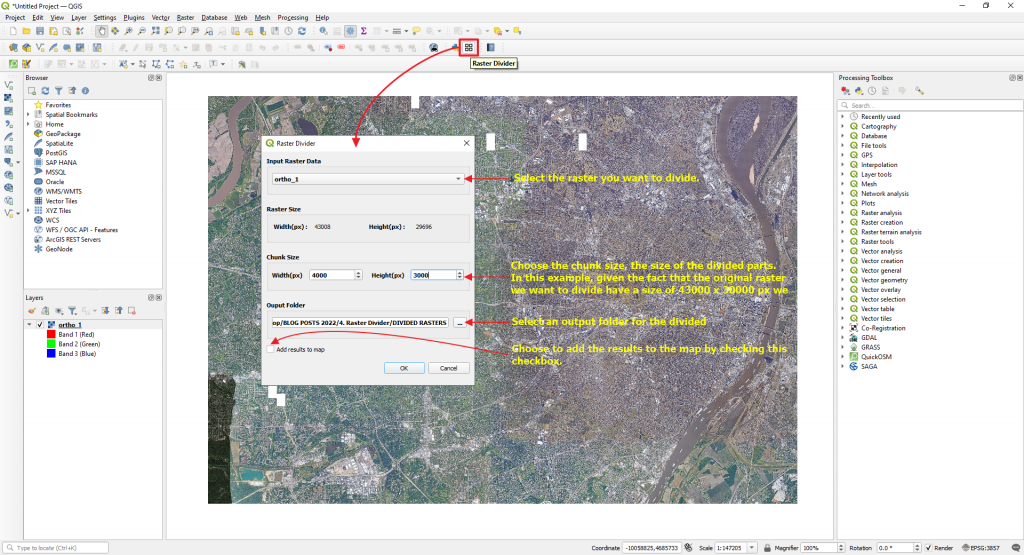
Click Ok.
After the process is complete, all the divided parts will appear in the Layers panel.
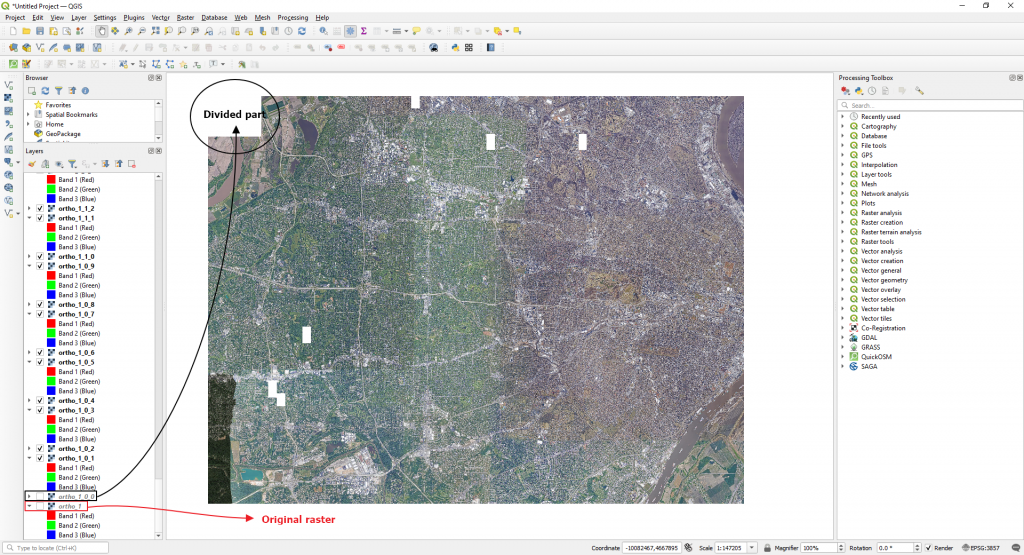
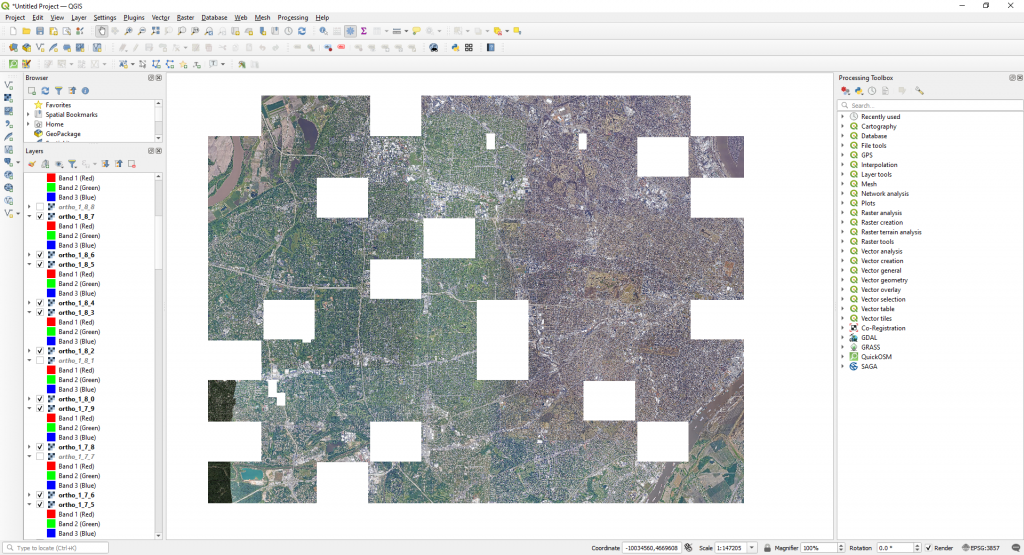
Deselect several divided parts found in the Layers panel so you can understand better how this tool works.
The raster was divided in 110 equally parts (4000 x 3000 px).
2. Easy Raster Splitter
Using this plugin you can split your raster file based on a given polygon shapefile layer. In this way it is possible to clip or extract raster parts based on different limits/areas of interest.
Before starting using this plugin, you must install it. In the same way as earlier, go to Plugins > Manage and Install plugins. Install Easy Raster Splitter.
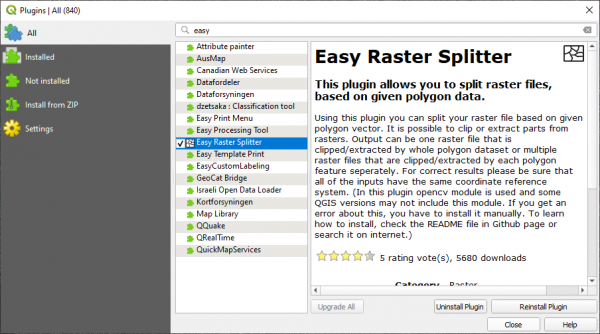
The Easy Raster Splitter button will be added to the QGIS toolbar. Click on it. In the new window that will appear select:
- the raster you want to split
- the vector layer on which the split will be based
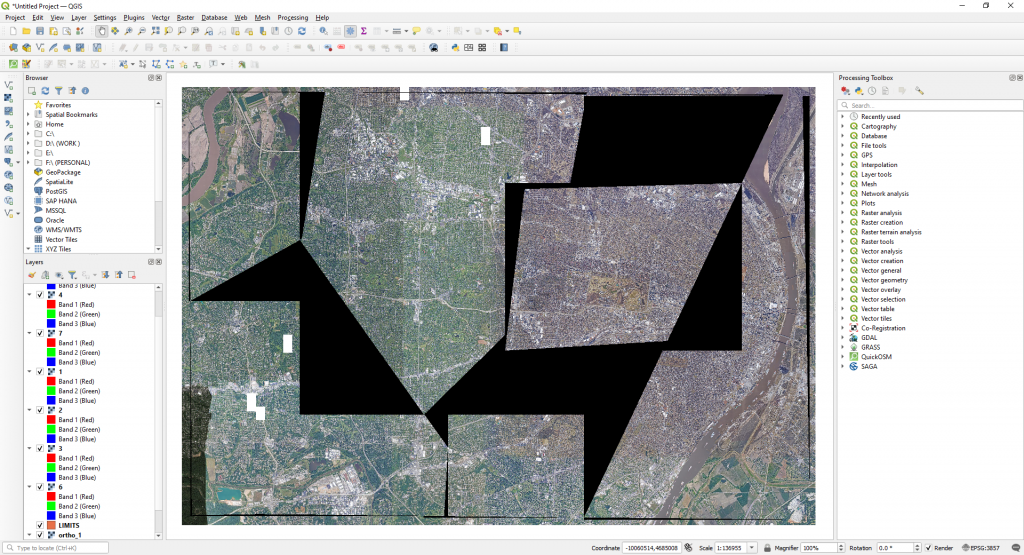
- the method (Clip or Extract). In order to clip the raster considering the limits showed in the image below select Clip.
- the split option (Split by Feature of Full Vector). Choose Split by Feature and select the raster output name of the new rasters. Choose a field found in the vector layer attribute table.
- output folder for the split parts

The raster will be clipped in 7 parts accourding to the LIMITS.shp layer.
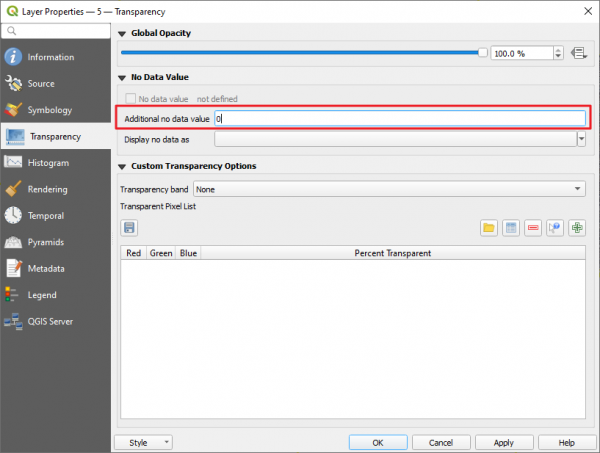
Remove the raster background black color by going to raster/Layer Proprieties > Transparency > and type 0 in the Additional no data value option.
Click Ok.
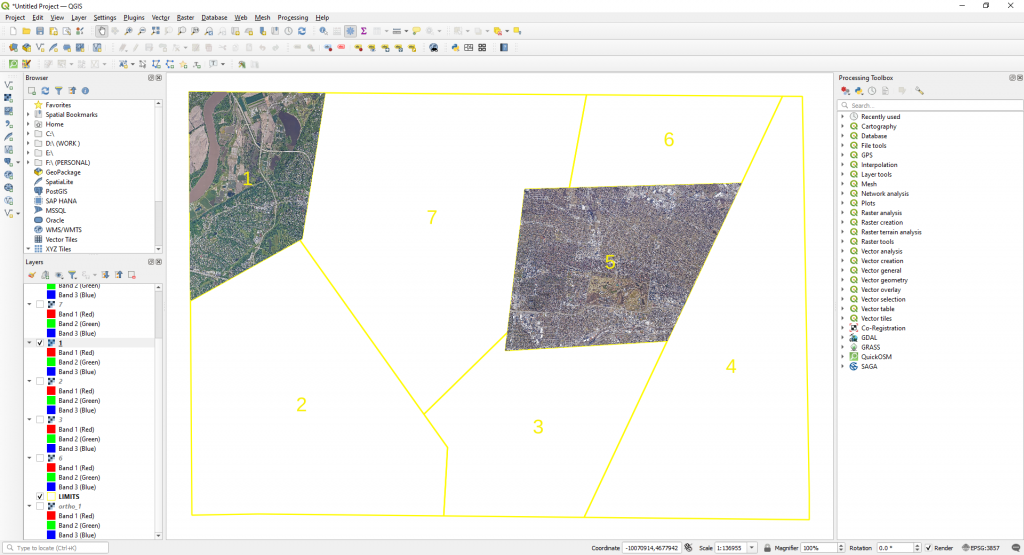
The original raster is now clipped considering the 7 areas found within the LIMITS.shp layer.
 (4 votes, average: 5.00 de 5)
![]() Loading...
Loading...
High quality and professional training
Recommended courses


SOURCE:
Raster Divider Plugin – Author: Murat Çalışkan – https://plugins.qgis.org/plugins/raster_divider/
Easy Raster Splitter Plugin – Author: Murat Çalışkan – https://plugins.qgis.org/plugins/easy_raster_splitter/

Never knew managing layers was so easy. The way you’ve explained is just so incredible. I’m glad I came here.
Thank you for your feedback. Much appreciated.