Nowadays, with the help of a 3D printer, it has become very easy to print 3D geographic features captured by a Digital Elevation Model. To be able to do that, a raster export to STL (standard triangle language) format is mandatory.
This can be realized with the help of QGIS software and its DEMto3D plugin. Let’s see how we can do that.
- First of all, we will presume that the QGIS software is already installed on your computer. If not, you can get it from here. Next, we will proceed and prepare the DEM dateset for the 3D printer. In this tutorial we will use a DEM Integer type.
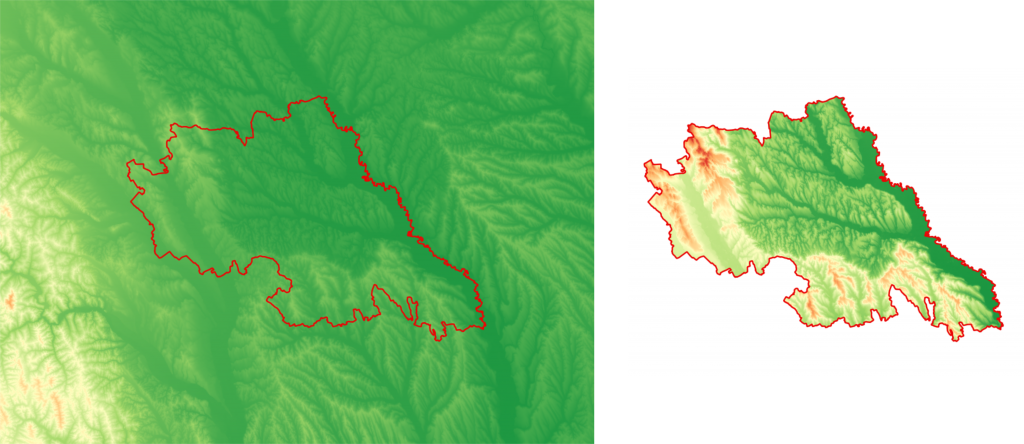
- If needed clip your raster by a mask layer.
- After the DEM is clipped, it is ready to be exported as a STL file, one of the most used file format in 3D printing. To do that, we will use the DEMto3D plugin.
- Install the plugin DEMto3D.

- After the DEMto3D is installed you can find in under Raster > DEMto3D > DEM 3D printing.
- In the new window that will open, fill in the next parameters.
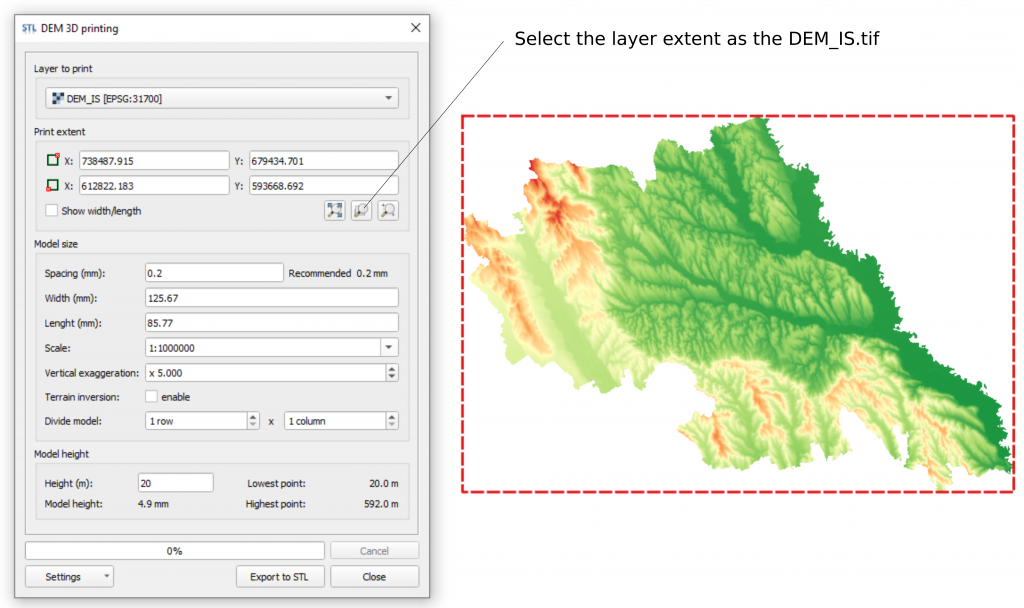
- In the Print extent select the layer extent you want to print. In our case, we will select the layer we just clipped earlier.
- In the Model size, set the spacing at 0.2 mm, the scale and the vertical exaggeration. The scale will affect the model width and length.
- In the Model height, in the Height (m) option type the lowest point located on your DEM.
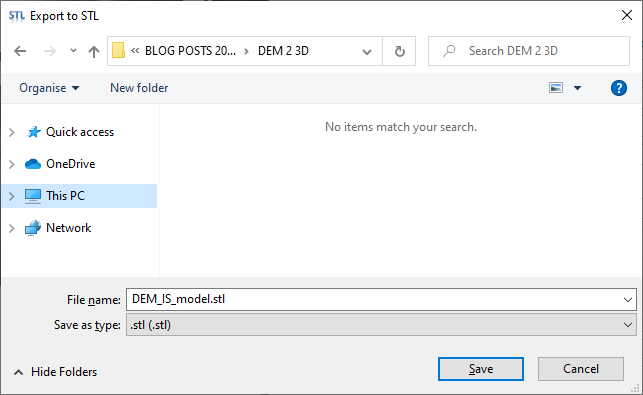
- Click on Export to STL and select a location for the 3D model.
- Open the 3D model exported.
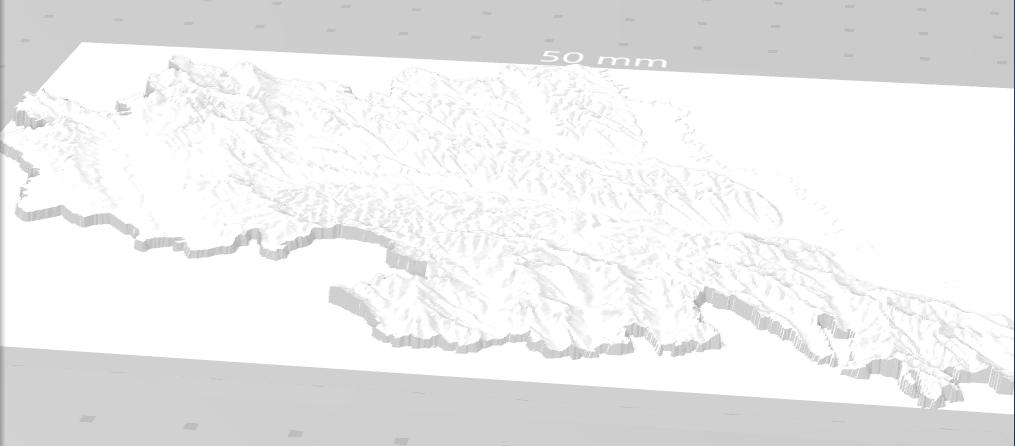
- Now, the 3D model is ready to be printed.
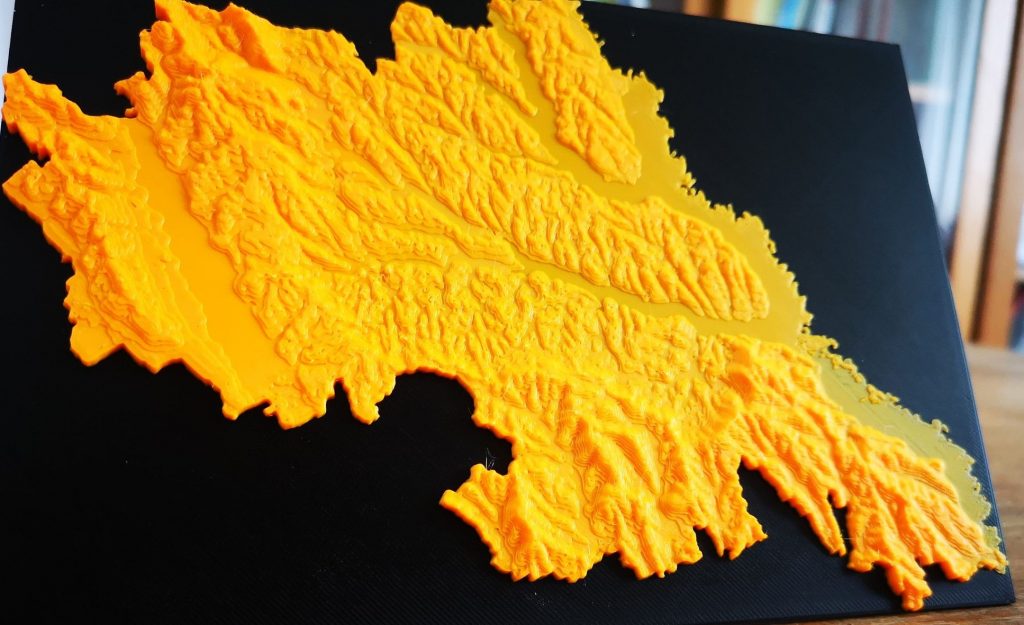
***The 3D print was realized at University Alexandru Ioan Cuza from Iasi, Romania, Faculty of Geography and Geology.
Quality training taught by professionals


Leave A Comment