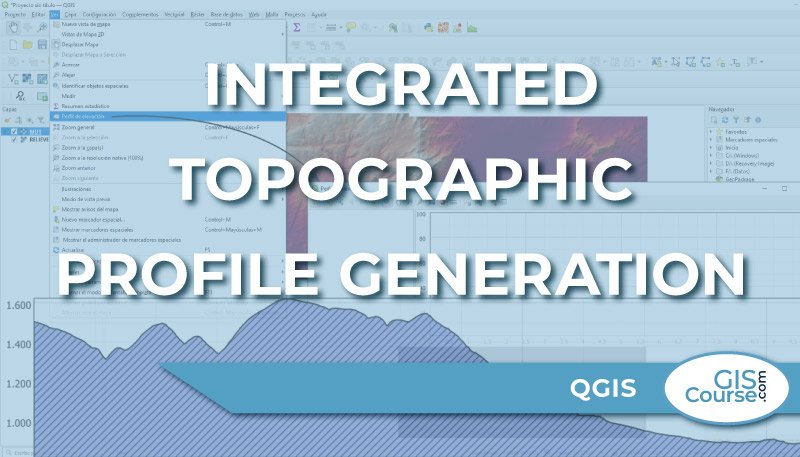
Once a project is done, it is important to create a beautiful presentation. Even though the goals have been met, it is a requirement to know how to present the results and do so in a visual way. Next, we are going to show you a trick to add relief to the image.

This is one of the most common tricks to make a map look nicer.
Once the Project is finished, if it is represented in an orthophoto or raster layer like this one:
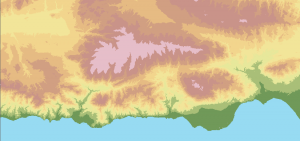
We can follow the next tip, which consists in adding a more realistic tone to the image using relief.
To do so, we will use the original raster file.
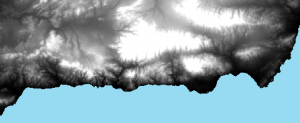
Using tools as the ones seen in previous posts, we will try to create a shading to add relief.

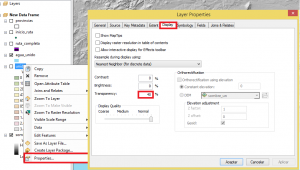
We now add the orthophoto / raster on top, and add 40% transparency through the next steps:
Go to properties, right click the layer and select display.
The result will look like this:

These are small tricks that can make your presentation stand out as a high quality presentation.
Quality training taught by professionals
RECOMMENDED COURSE


Leave A Comment