When we download a DTM raster from a web server, we obtain an image that looks like this:
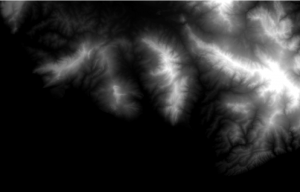
At first sight it is hard to appreciate the details of the image not knowing which part falls inside the map.
In order to make its esthetical look seem better, we will apply a hillshade effect to the DTM.
This is a useful tool to turn the map more pretty and be able observe it in more detail.
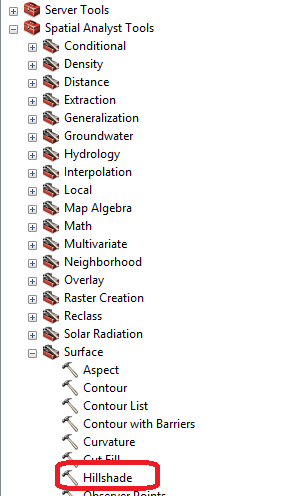
Follow: Spatial Analyst Tools> Surface> Hillshade
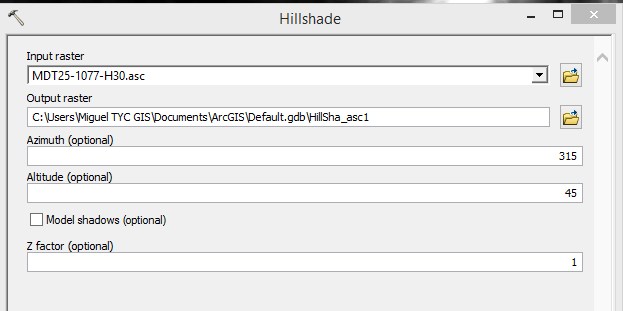
In the dialog box, we will only select the raster and the file where we want to locate the output raster. All other values will remain the same.
The resulting map will be like the following one:
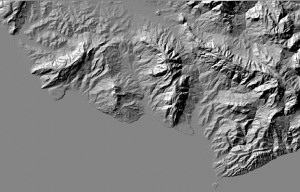
We insist that this is only an esthetical image and it helps us learn where we are located, as the value of each pixel changes.
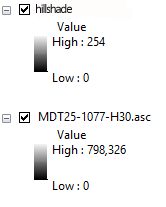
As seen, the highest DTM value is 798 while the hillshade value is 254.
Enjoy!
Quality training taught by professionals
RECOMMENDED COURSE


Leave A Comment