Following steps form our previous post, we will now visualize the viewsheds using ArcScene.
We first load the DTM and add an elevation offset.
To add 3D visualization to the layer in ArcScene, right click on the layer to open its properties.
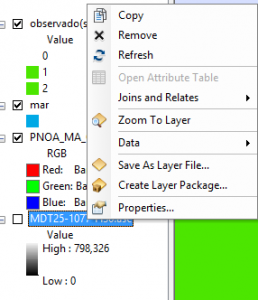
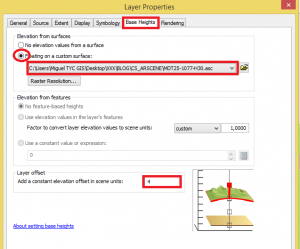
Select the “Base Heights” tab and choose the option “Floating on a custom surface”.
Select the layer that is going to provide the elevation (the DTM in our example) and select a noticeable elevation offset, 4 for this case.
We follow these steps for all the layers that we want to visualize as if not the will stay lower. Always select the base heights defined by the DTM.
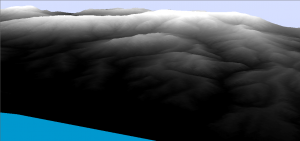
When configured, unclick the DTM to visualize only the orthophoto.
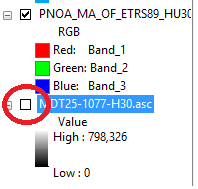
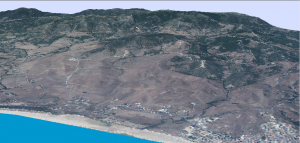
It will appear as follows:
Add the observer points in a 3D figure.
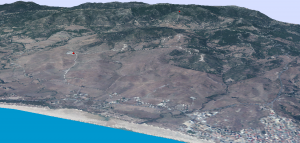
Do the same with the viewshed raster.
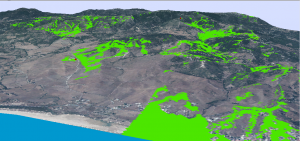
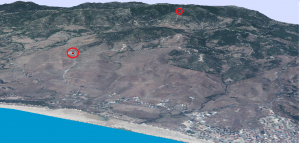
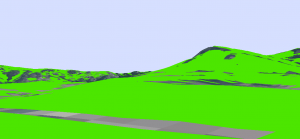
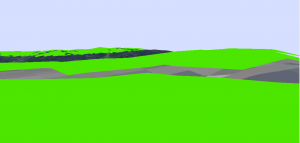
To demonstrate the precision of this application, we will place ourselves on the observer’s point n1 as closely as possible, observing the territory form its point of view.
Once placed there, our surroundings will be green representing the visible parts. This is a sign that we have done it well.
It is difficult to stay at the exact point but we can gain an idea of the program accuracy.
Quality training taught by professionals
RECOMMENDED COURSE


Leave A Comment